Thursday, 1 February 2018

Anatomy of a Pattern: Something Strange blanket

Inspiration comes from the strangest and most unexpected places sometimes. The story of the Something Strange blanket began with a text message from my gorgeous friend Sarah:


At the time I was wandering around in a museum in Chicago, so that weekend was spent researching patterns and yarn in between sight seeing and eating hot dogs.

I'm not used to designing within constraints. There were three main things I needed to balance:
1. It needed to look right! This meant getting the stitch and the colour pretty accurate.
2. It needed to fit within the production company's budget.
3. I needed to be able to make it in a few weeks.

Someone told me recently that constraints set your creativity free, and while it sounds like a contradiction, it turned out to be pretty true. These three elements ended up affecting basically every aspect of making the blanket, and allowed me to flex my problem-solving skills.

Yarn Choice

The first thing I needed to settle on was yarn. I'm usually averse to acrylic, but I went for it to fit into the budget. The next thing I was optimising for was the look - I wanted to use the same yarn for the whole blanket which meant I needed a yarn that had a yellow and white that looked correct. I spent a decent chunk of time in the yarn department at my local Michael's - it turned out that finding a nice pearly white was harder than finding the right yellow, but thankfully Caron Simply Soft had good options for both colours.


Stitch Repeat

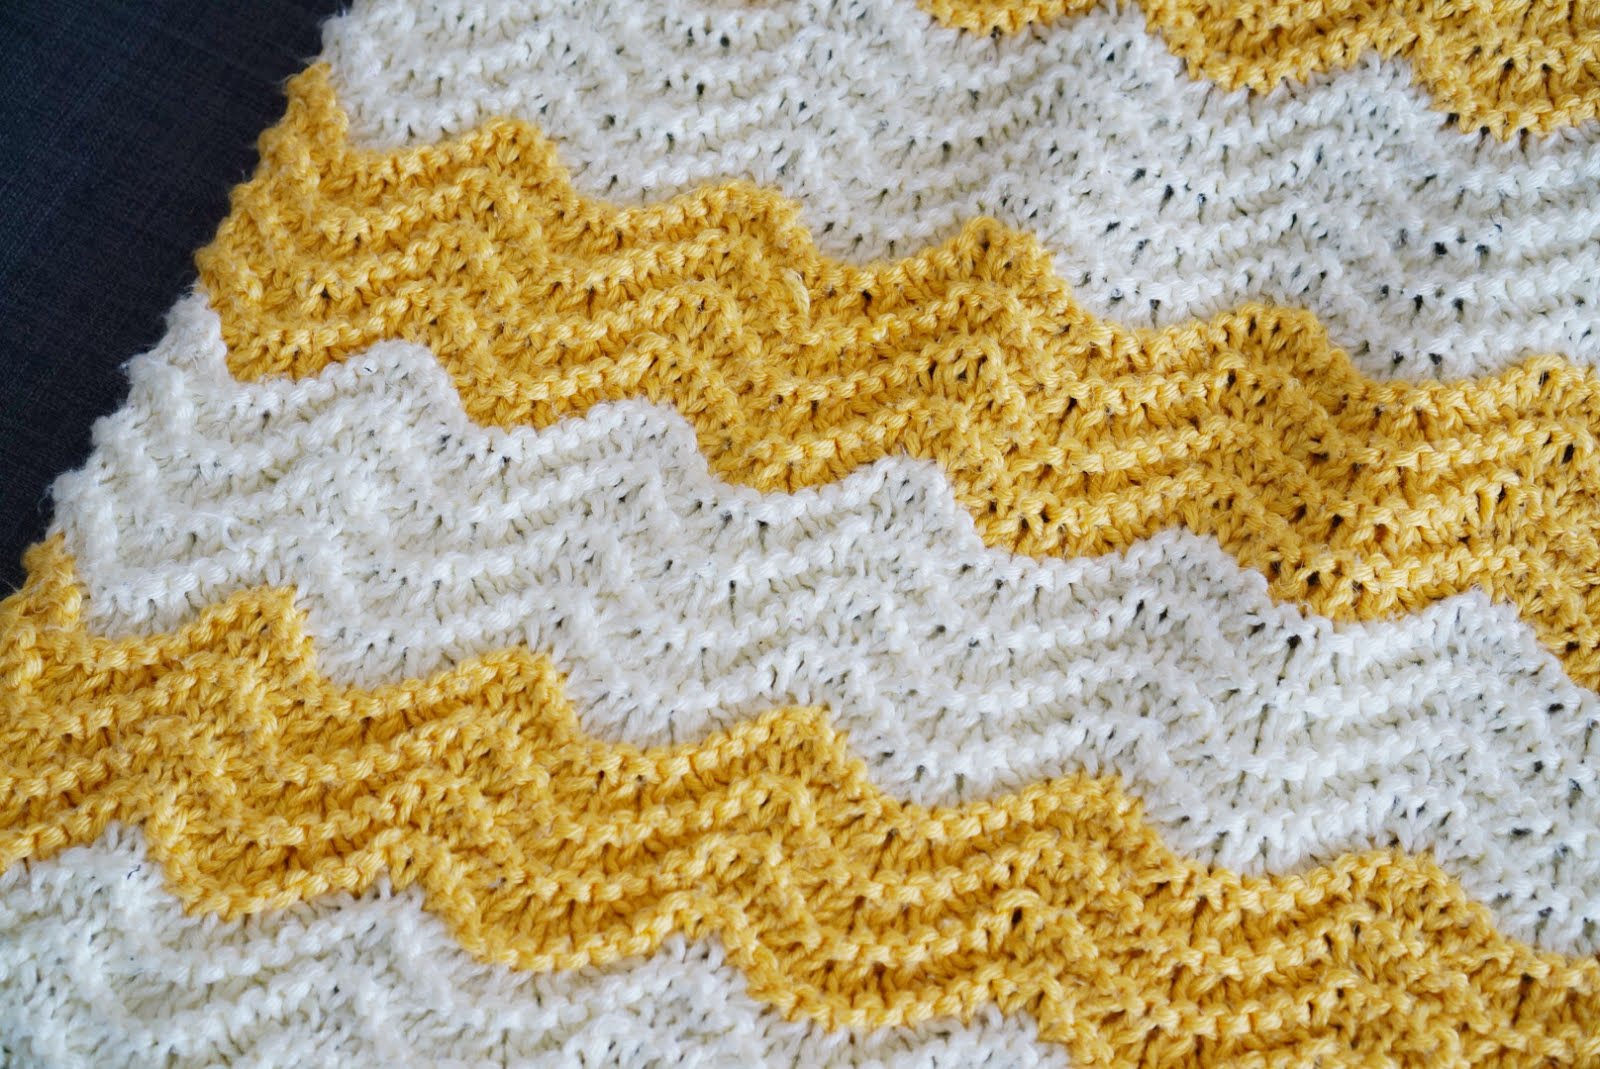
This style of blanket is traditionally a crochet pattern. I flirted with the idea of crocheting it but given that I needed it quickly and my crochet skills are pretty basic, I decided to make a knit version. After doing a bit of research, I figured I could do a modified Feather and Fan stitch. Feather and Fan patterns create nice waves (like I needed), but they also have little holes in them (which I didn't want), so I had to adapt a little. A Feather and Fan is basically a few rows of stockinette with one row that includes a series of increases and decreases, and the holes come from the fact that the increase is a yarn over - it's done intentionally as a decorative element. So to get rid of the holes, I just needed to do a different increase. This left me with lots of options, each with their own pros and cons:

- KFB: Very quick to knit but visually not great, since it leaves a little purl bump
- M1: Exactly what I needed visually, but they're a little fiddly to execute and I didn't want them to slow me down
- Afterthought Yarn Over: This was a new one to me, which I found on Knitting Help's Increases page. It knits up quickly and leaves a smaller hole than a normal yarn over.

For speed's sake, I started off with the afterthought yarn over. It was nice and quick but the holes were still quite noticeable, so I ended up going with the M1.

Yarn weight

Caron Simply Soft is 10 ply (worsted weight). Given how big a blanket I was making I needed something very thick, so I played with holding several strands together. I've made a large, super chunky blanket before so I tried three strands together on a 10mm (US 15) needle, but it was way too unwieldy and the waves ended up being huge. So I ended up using two strands at a time, which looked great.

Execution 

Photo courtesy of Sarah Sullivan
Once all the elements were in place, I just had to knit it. And boy, did I have to knit. I ended up knitting so much, so quickly that I actually made my arms quite sore. Blocking something this large was quite a task too - I had to hang it up on my balcony rail. But at the end of the day, it worked out quite well! 

Sarah initially had to keep the venue for the job she was doing under wraps, but it turned out to be a set at the Google pop-up store in Manhattan. I went and visited at one point and it looked absolutely stunning, and so many people saw and used the blanket! I found a few news and events websites that were featuring it too, which was pretty neat.

Overall, the blanket was a pretty fun experience. I learned a lot from the design, and given that knitting patterns for this style of blanket are rare, the next logical step was to share it with all of you. If you'd like to cast on, you can find the pattern on Ravelry or Etsy. It's available as an individual pattern or as part of my Deep Winter '18 collection, which will get you Something Strange as well as the Stepping Stones Scarf pattern. Happy knitting!

Sunday, 20 August 2017

Tutorial: Afterthought thumbs

When I learned to make mittens, the tutorial I found involved creating a thumb without a thumb gusset. I didn't know this at the time but it turns out this is called an afterthought thumb - probably because you do minimal work to set up for it! I love afterthought thumbs. They're a great way to get in to mitten or glove knitting.

This tutorial assumes you're following a pattern (like my Starry Starry Mitts) that use an afterthought thumb. It'll have details in it on how many stitches to knit on scrap yarn and how far into the palm you need to start the thumb stitches.

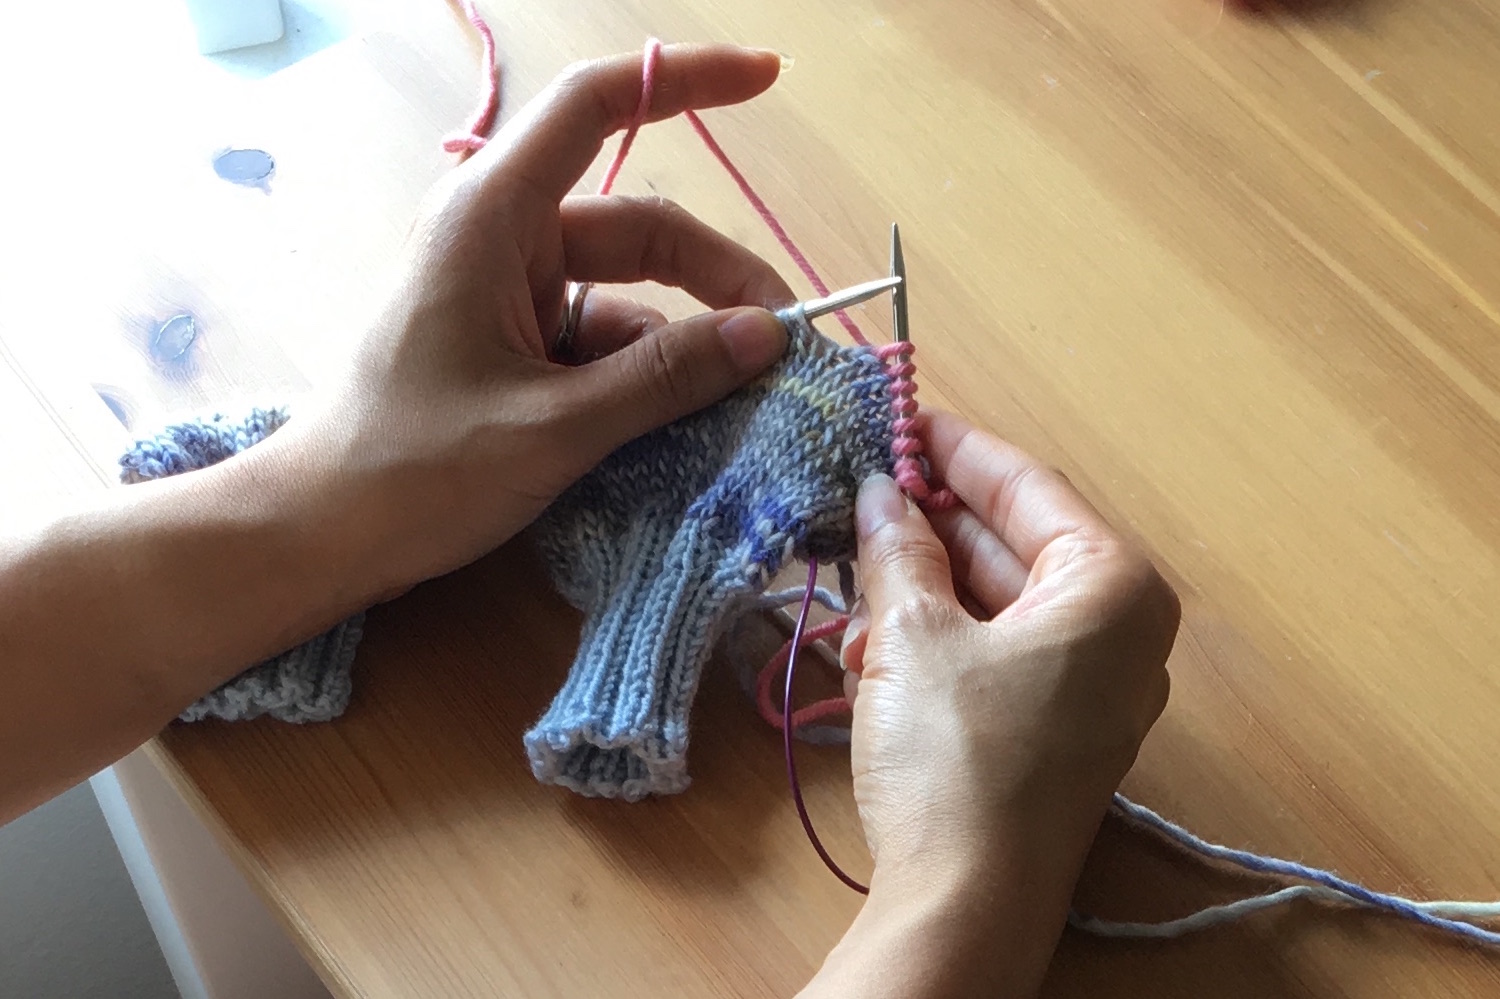
First off, as you're knitting the main part of the glove, you'll set up a hole that you'll knit the thumb into later. The pattern will say something like this: knit 8 stitches with scrap yarn, transfer stitches back to the left hand needle, then knit stitches with main yarn. Let's break this down step by step.

You'll need some scrap yarn. If you can, use a slippery yarn like cotton to avoid it felting with your main yarn. It also helps to use a colour that's very different to your main yarn so you can see it more easily later.

When you get to the thumb stitches, join your scrap yarn to your project and knit the indicated number of stitches with it.


Then, slip those stitches knitwise from the right hand needle back onto the left hand needle.


Leave a couple of centimetres for a tail and cut the scrap yarn. I also like to tie the two ends of the scrap yarn together.


Now, pick up your regular yarn and knit all the scrap yarn stitches.


That's it! Leave the knotted ends hanging on the inside of the mittens, and finish the rest of the mitten hands.

When the main part is done, your pattern will tell you to pick up the stitches around the thumb hole. Use a long cable needle for the magic loop method or DPNs.

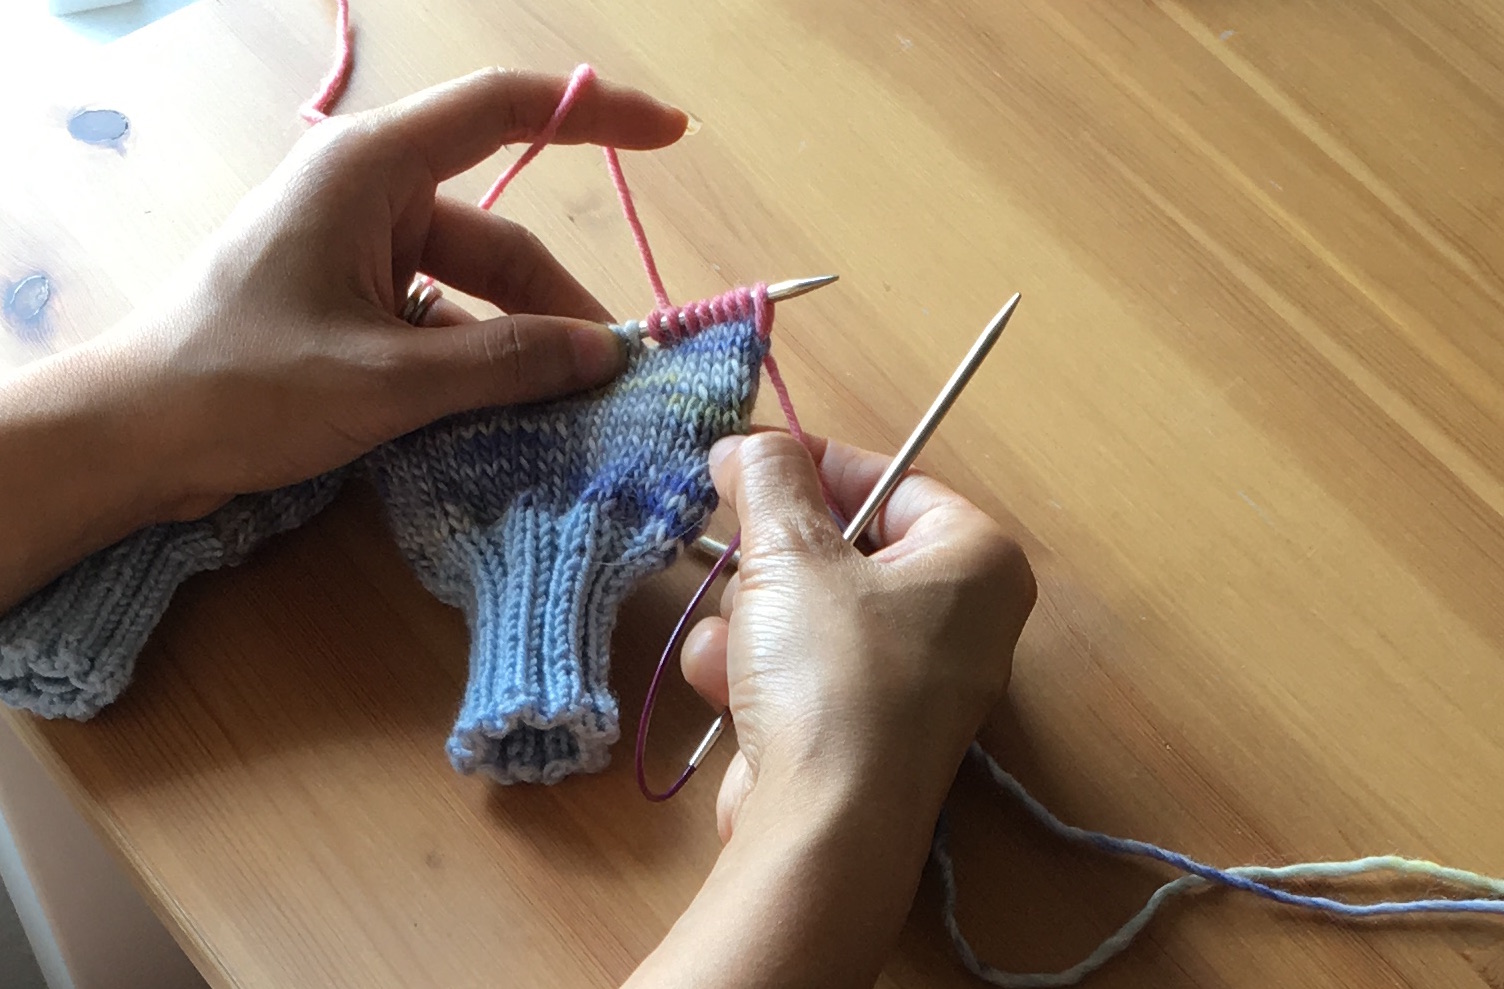
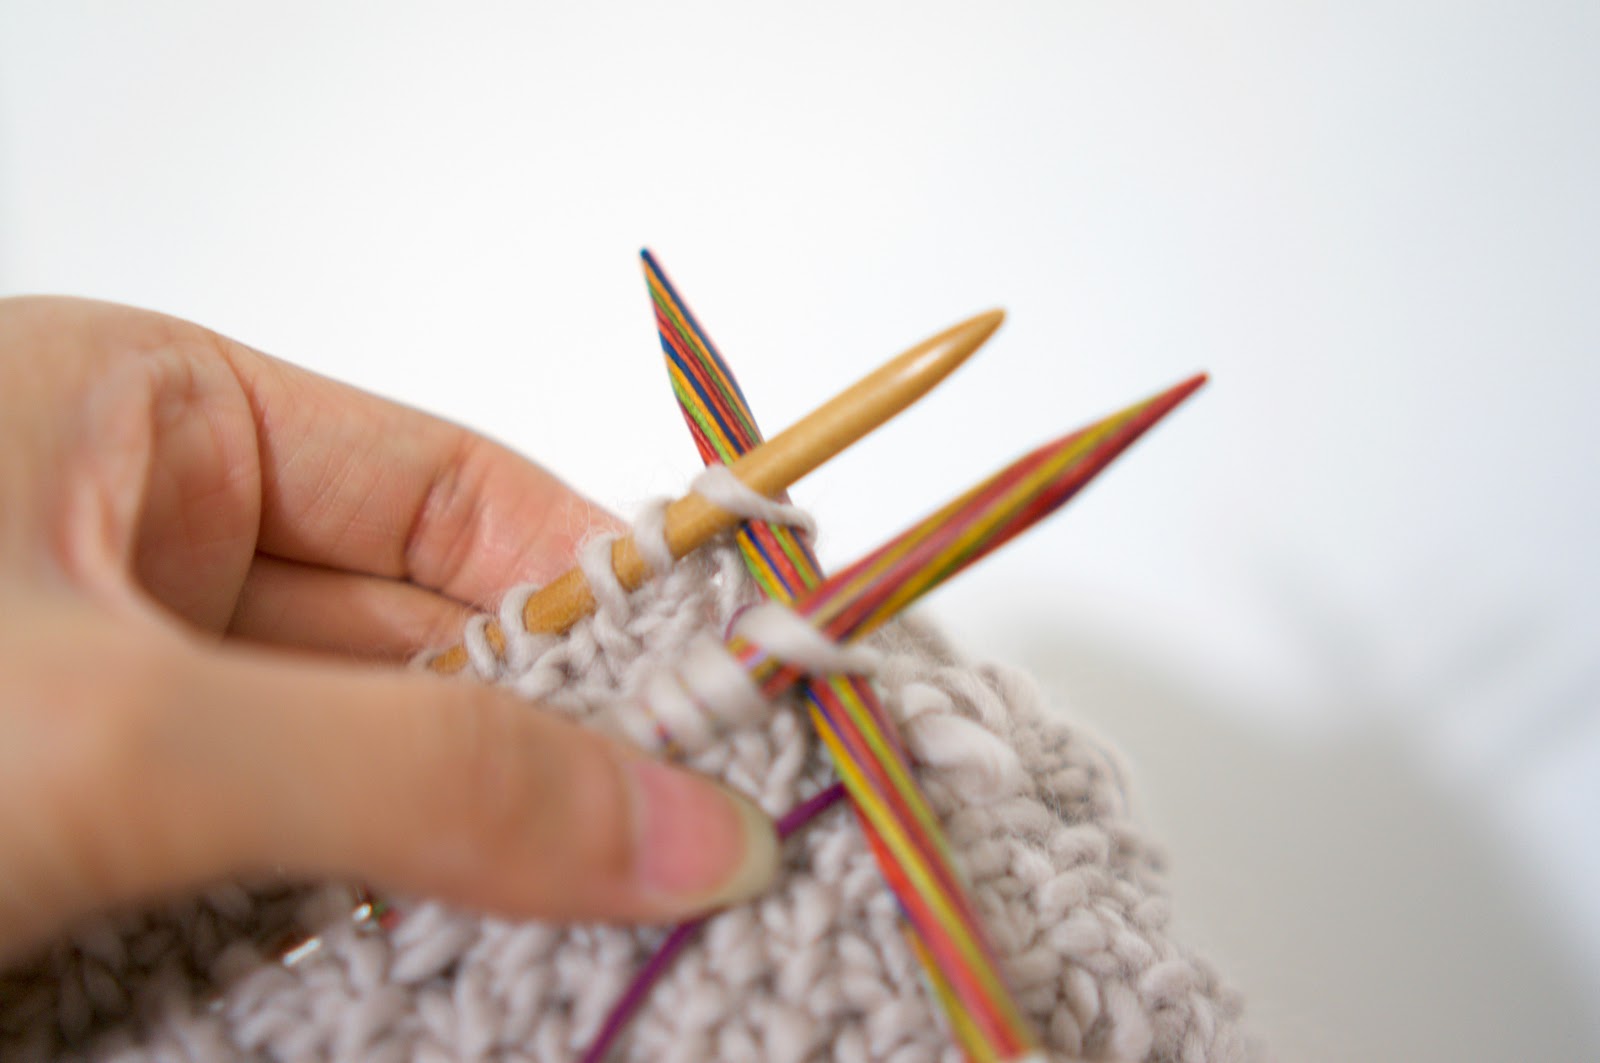
Take your needle and insert it into the left leg of each of the stitches in the row directly above the scrap yarn section, working from right to left. You should have the same number of stitches on your needle as the number of stitches you knit with the scrap yarn.


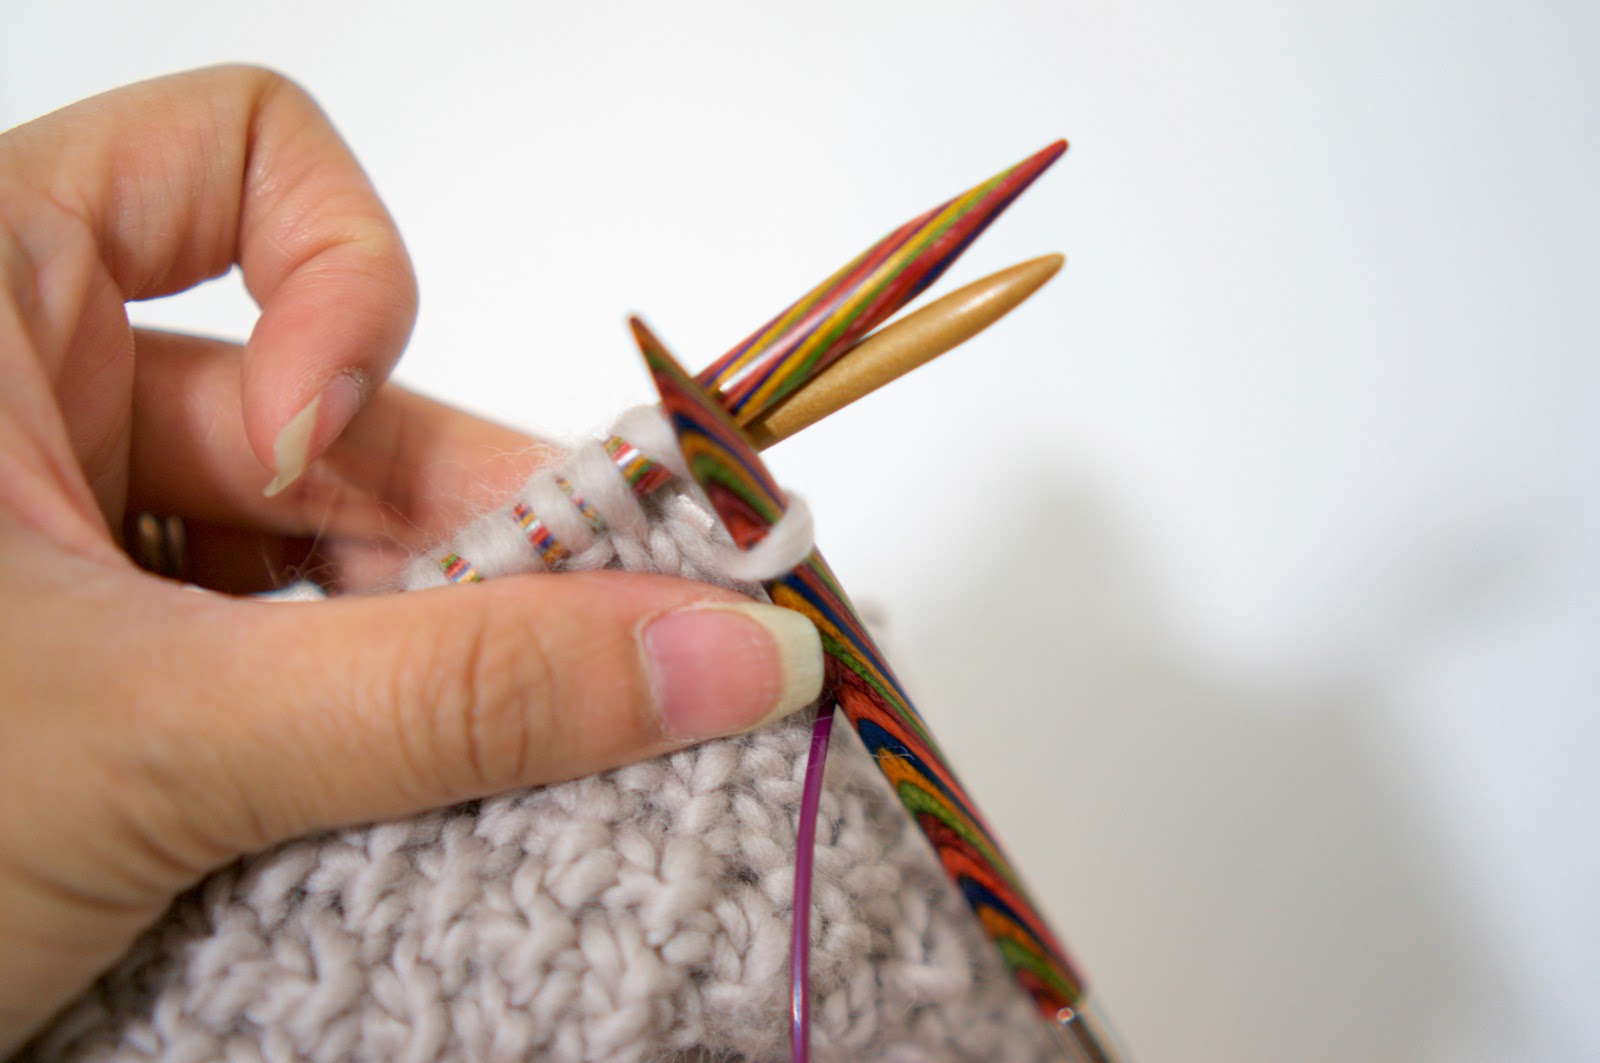
Then, if you're using a long circular, pull it so the stitches you just picked up are on the cable and your needle is free of the stitches. If you're using DPNs, just pick up another DPN.

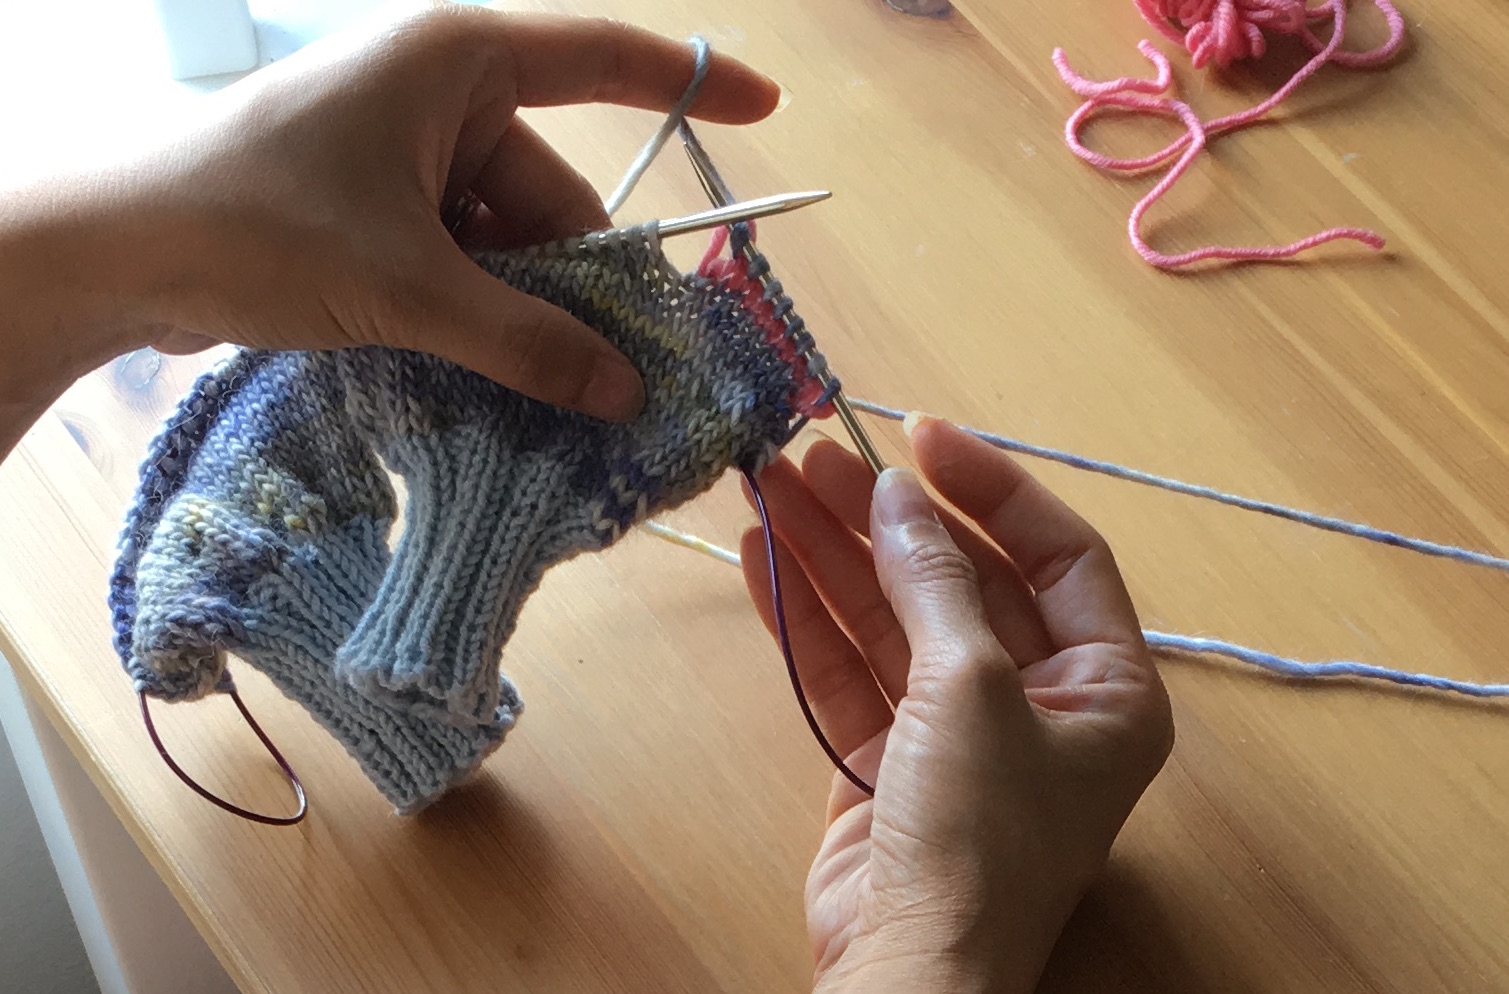
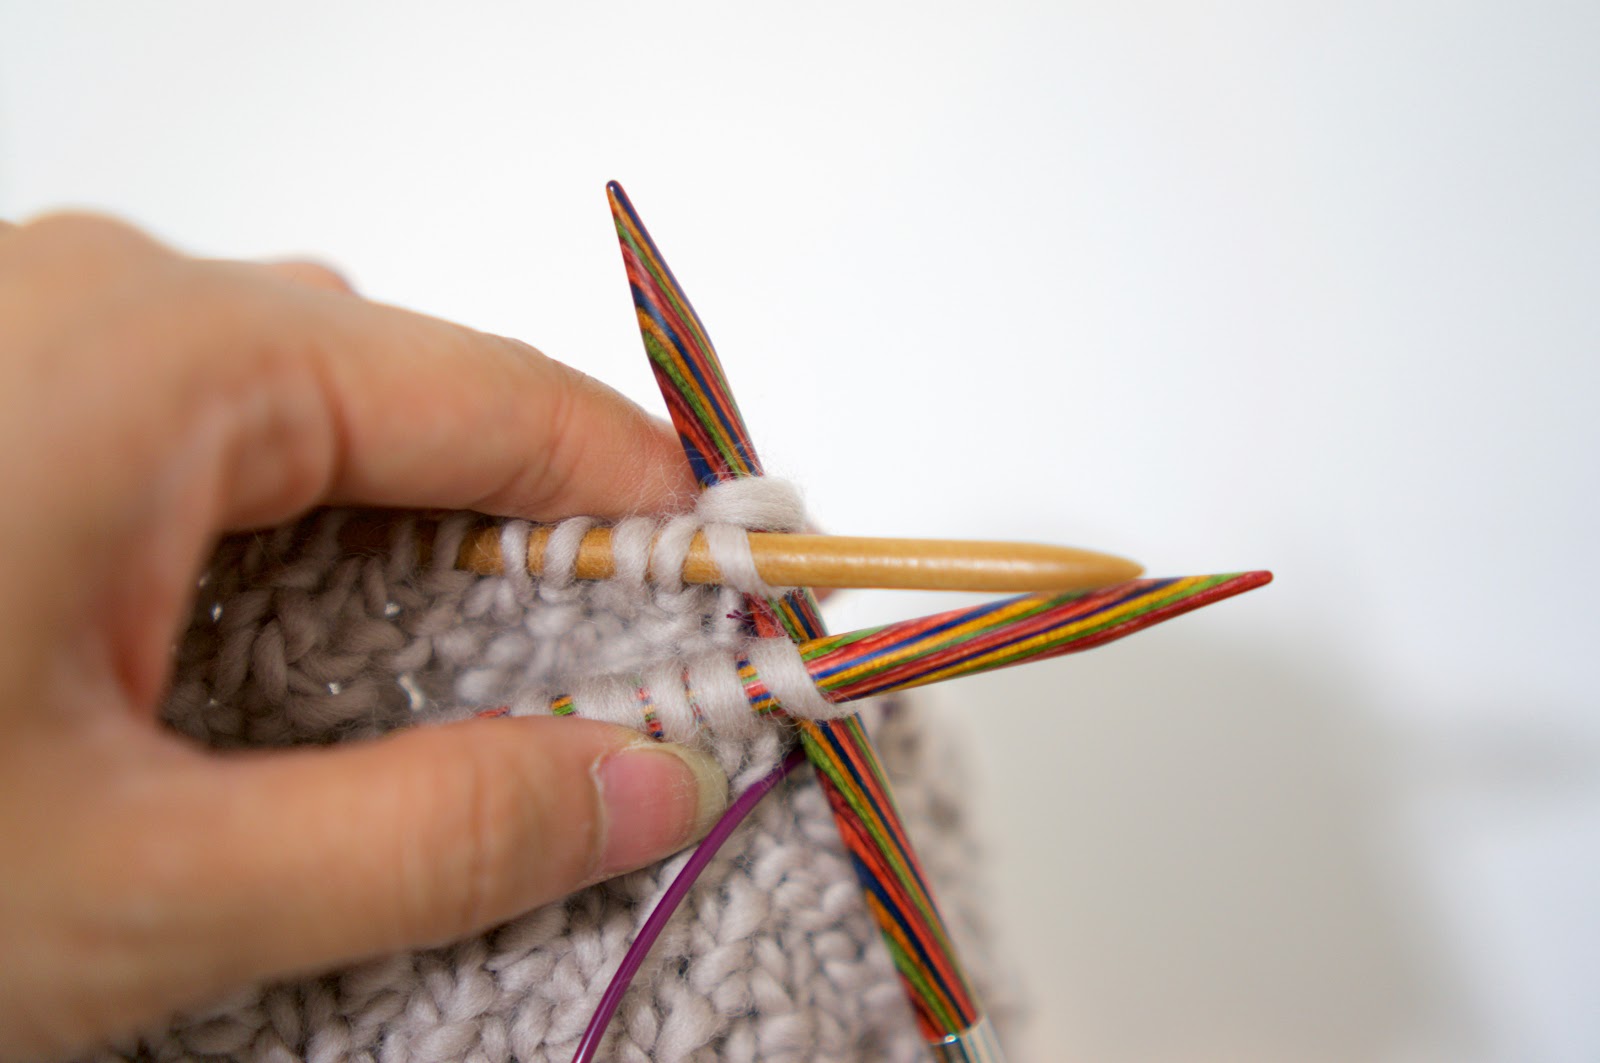
Turn your work upside down and using the needle, pick up the right leg of each of the stitches in the row directly above the scrap yarn section. Again, you should have the same number of stitches on your needle as the number of stitches you knit with scrap yarn.


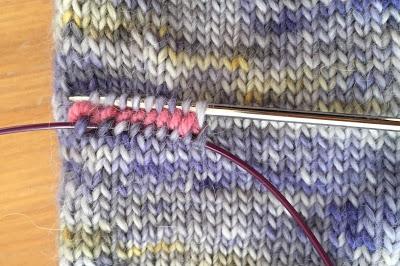
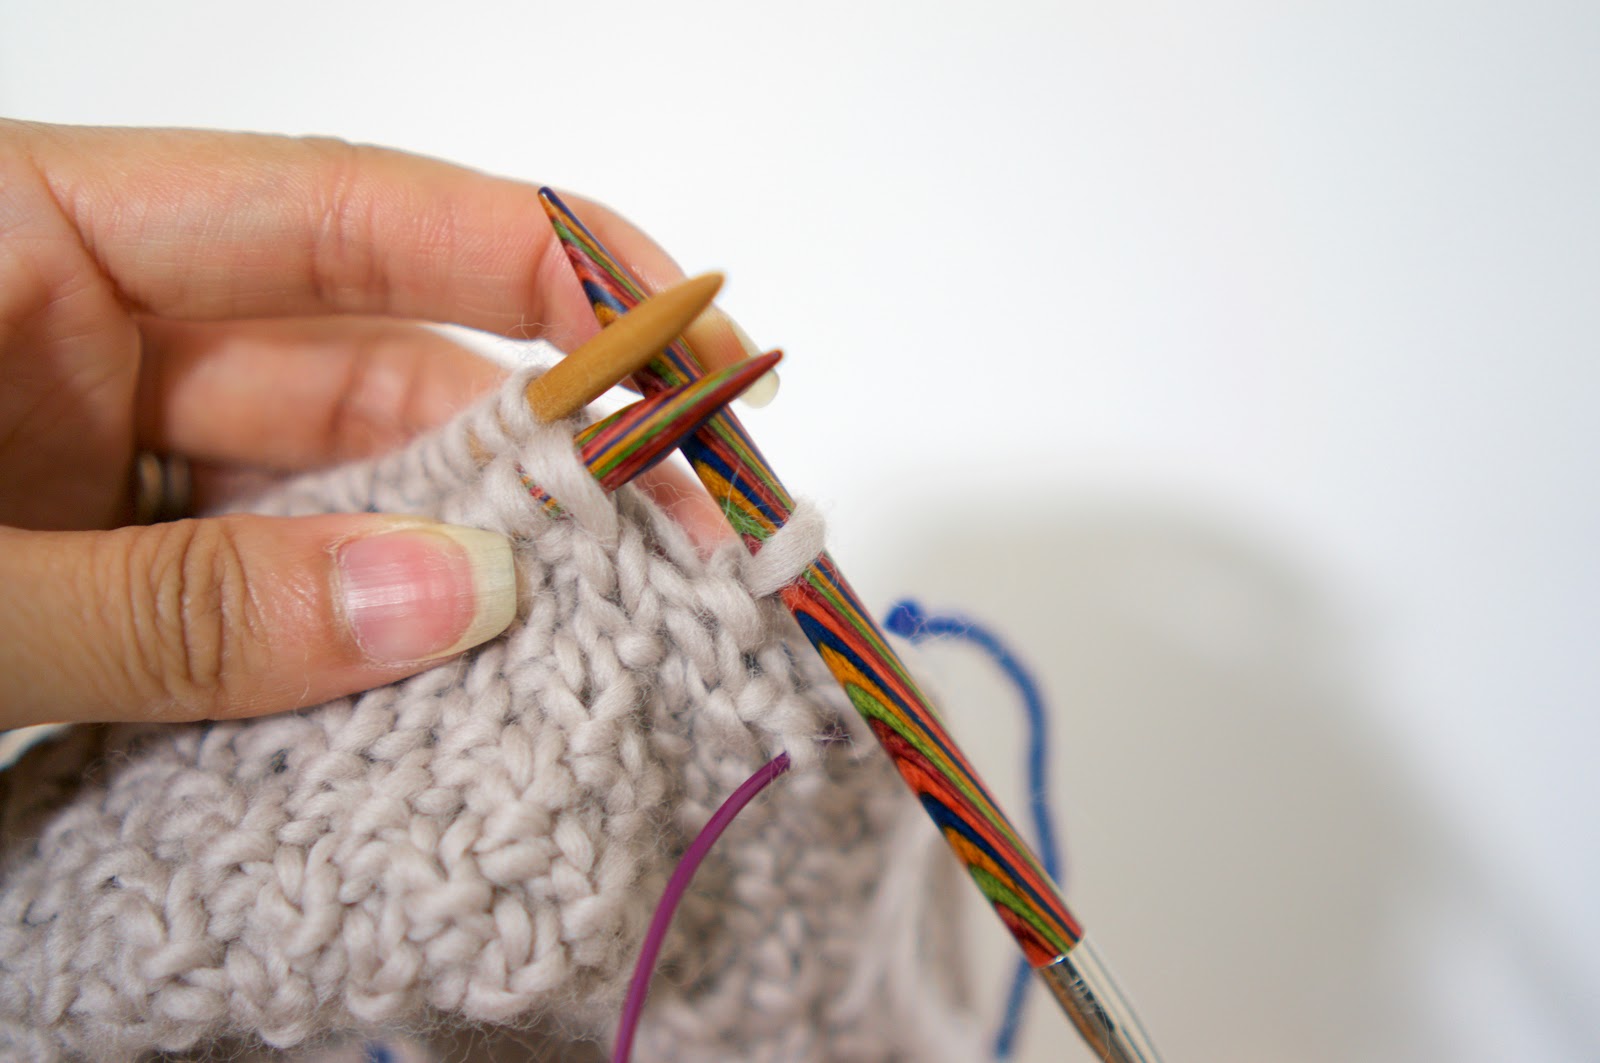
Now turn your work back the right way up and reach in to the glove to grab the knot you made in the scrap yarn ends. Cut it off. Then use a spare needle to unpick the scrap yarn stitches.


At this point, you have a hole for your thumb, and your stitches arranged on your needles ready to be knit.


Join your main yarn back onto the project and follow your pattern to knit the thumb.

When your thumb is finished, you may notice some small holes in the corners of the thumb. You haven't done anything wrong - it's just unavoidable with afterthought thumbs. When you're weaving in your ends, use the yarn tails to sew the holes shut.

One tip: To avoid these holes I like to pick up an extra stitch on the outer edge of each row I pick up. So if the pattern said to knit 8 scrap yarn stitches, when I pick the stitches up I'll pick up the stitch to the left and right of the 8 for a total of 10. Some patterns will tell you to do this, but some don't. If you do this but the pattern doesn't say to do it, make sure to decrease the extra stitches you created in the first or second round of the thumb.

If you'd like to try an afterthought thumb out, check out my Starry Starry Mitts pattern!

Sunday, 21 May 2017

Tutorial: Double brim beanies


Double brim beanies are lovely! Until I discovered them, I felt like all of the brims on beanies needed to be made up of ribbing. With double brims, though, you can use any stitch you want without the ends curling up, and they create a nice thick fabric so they stay snug even without being ribbed. 


To begin a double brim beanie, decide on your stitch pattern, how many sts you’ll need and how long you want the brim to be.

Cast on in the round using a circular needle and a provisional cast on, mark the first st of the CO with a removable marker, and work the brim until it’s as long as you’d like it to be. Then work a row of purl sts. These are are optional, but they help keep the bottom edge of the brim neat. Work the same number of rows as you did before the purl row.

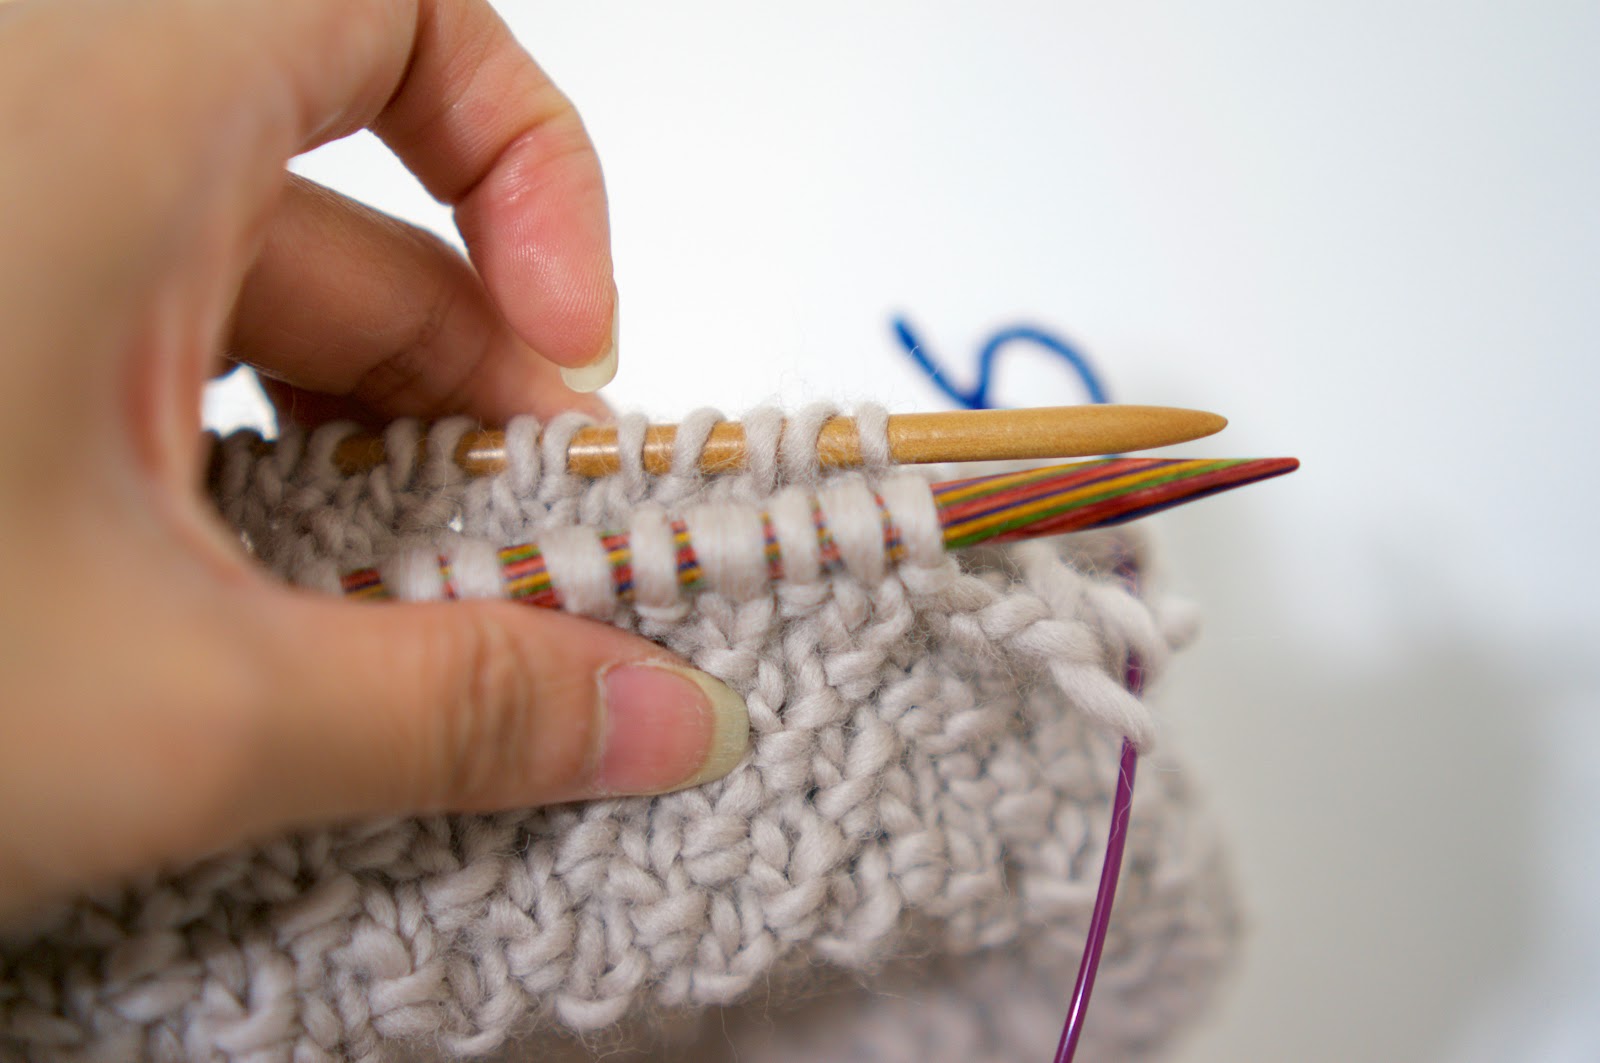
Place the a quarter of the sts of the provisional cast on to a spare DPN. Remove the stitch marker and any waste yarn used for the provisional cast on from these sts.

Fold the brim along the row of purl sts so the sts on the DPN are on the inside of the round, behind the live sts. Line them up so the first stitch on the DPN is behind the first st of the round.


You will now knit the first stitches on both needles together.


Step 1. Insert the right needle of your circular needles into the first stitch on the front needle, then into the first stitch on the DPN.


Step 2. Wrap the yarn around the right needle as if to knit.


Step 3. Pull the yarn forward through both stitches.


Step 4. Drop the first stitch off both left hand needles. You have completed one stitch.


Repeat steps 1-4 for the remaining pairs of stitches.

Place the next batch of stitches of the provisional cast on onto the DPN, and repeat the process. Continue until all stitches have been knit together. Before knitting the last few sts closed, make sure the tail of your CO is tucked into the inside of the double brim - no need to weave it in to your work.

And you’re done! Now knit the body of the hat however you like, and you’ll have a beautiful snug double brim beanie.

Sunday, 30 April 2017

Expanded Rib scarf

After getting a bit obsessed with their Cotton and Petite Wool, I bought a couple of balls of We Are Knitter's Wool to see what it was like. I was a bit hesitant to try it at first since I'd never worked with yarn that was so chunky before, but I decided to give it a go anyway.

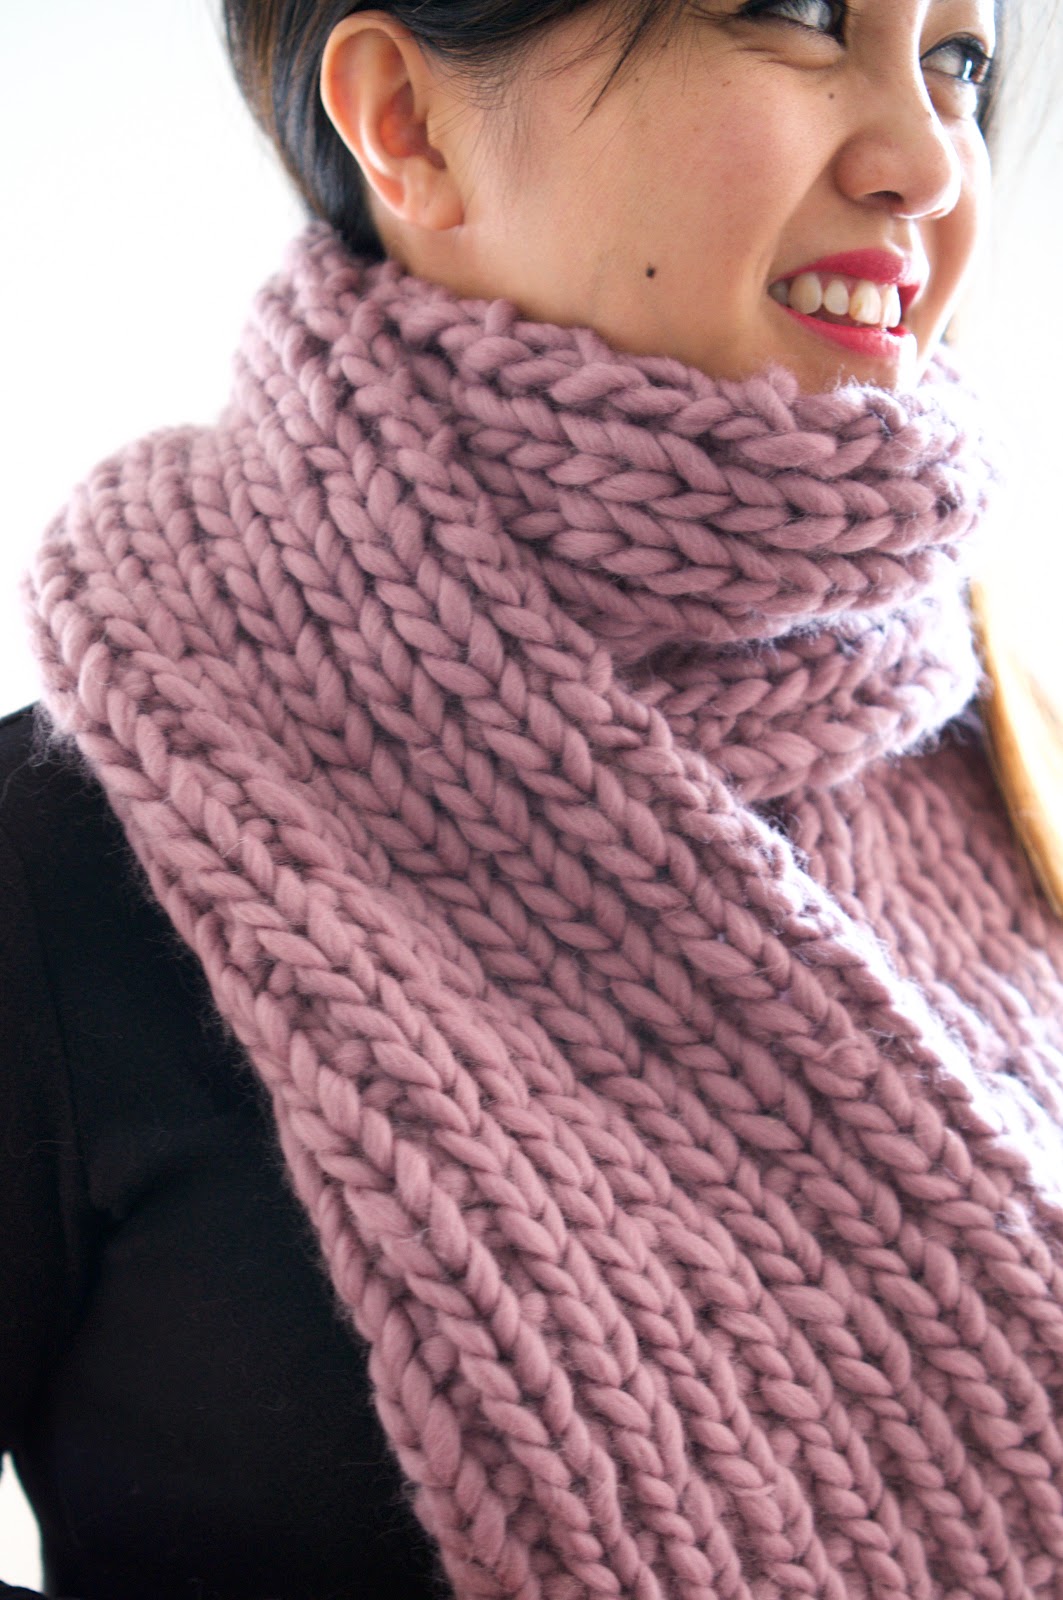
I knew I wanted to try something textured but it can be difficult to do with super bulky yarn can since the thicker yarn gets, the less stitch definition you get. After trying a few different combinations of knits and purls, I finally hit on this stitch that I'm calling "Expanded Rib". It's ridiculously simple but it results in a really nice variation on seed stitch that looks completely different and equally lovely from both sides.

The scarf itself is the definition of cosy. I can see what all the fuss is about this yarn now - it's so soft and warm, and there isn't an itch in sight. You can use any super chunky or jumbo yarn that knits up to the right gauge though!


Wednesday, 15 February 2017

Anatomy of a Sweater Pattern: Inspiration

Welcome to a new series on how I write patterns! I'm going to go through the steps that I took to write a sweater pattern. This is Part 1: Inspiration.

Something I didn't anticipate about New York that I probably should've: the winters are cold. So cold. So I've been getting a lot of use out of the Talula pullover I finished just after we moved here:


It's the first jumper I've made, and I love it. But there are only so many times I can wear it in a week without it becoming conspicuous, so I decided I needed a new one. Enter the Necessity Jumper.

I came up with the name for a couple of reasons. First off, I made it out of necessity because, well, I'm cold. Secondly, the amount of yarn I have in my apartment is reaching breaking point so I really need to use some up. Lastly, some of the design choices were made because I needed to save my sanity and not knit an entire jumper's worth of stockinette.

I made a Necessity Jumper board on Pinterest with all of the images I used for inspiration. But if you'd like more of an explanation, read on!

Friday, 30 December 2016

2016 in review


So friends, another year's over, and while 2016 was a bit gloomy I actually had a blast. It was so full of adventure and achievement, because after years and years of scheming, I finally got this little creative venture of mine off the ground!

Here are the knitting-related things I'm most proud of:
  • I opened my Etsy shop.
  • I published my first knitting pattern.
  • I pivoted my Instagram account to focus on my knitting.
  • Patterns published: 7
  • Items sold on Etsy: 20
  • Finished items that other people have made from my patterns (that I know of): 8
  • Number of people I taught how to knit: 22

Wednesday, 7 December 2016

Diagonal Stripe Scarf

I love cables, but have been wanting to play with creating texture and patterns with simple knit and purl stitches for a while. After making a bunch of Seed Stitch Scarves I figured giving a different textured scarf a shot would be fun. As it turns out, diagonal ribbing is fairly straightforward but looks amazing. The yarn is nice and chunky and warm so it's a pretty quick knit, and if you can't decide between the regular and infinity version, well, why not try both? ;)


Wednesday, 16 November 2016

The Basketseed Cowl

I have a soft spot for basketweave. When my mother realised that someone had taught me how to knit, she took pity on me and taught me how to purl. After I tried it for a while I realised that the knit and the purl sides of my knitting looked different, and I figured out how to do a somewhat modified basketweave stitch for myself. The first pattern I ever designed was a basketweave scarf.

Unfortunately the edges tend to curl up, but I've been wanting to try a chunky knit cowl pattern recently and knitting in the round seemed like the perfect solution to the problem of the edges curling. I've been playing with seed stitch a lot too recently and couldn't resist throwing some in, so the Basketseed cowl was born!


Click through for the pattern, or if you're pressed for time you can buy the finished product on Etsy!


Wednesday, 24 August 2016

Blanket capers

A long time ago, I stumbled across a crazy baby blanket pattern called OpArt on Knitty. The pattern was fairly hypnotic, and I wanted to make one but really didn't have an excuse to. Fast forward to mid 2012, and when one of my best friends found out that he and his wife were having a baby boy, I knew exactly what I wanted to make as a present for him!


Saturday, 23 July 2016

The Slouchy Mushroom Beanie

I love slouchy beanies. They make the perfect winter accessory - they keep you nice and warm, but they're still really stylish. I'm teaching a workshop on how to knit in the round soon, and I wanted to use beanie pattern that wasn't too complicated - just knit, purl, and some basic increases and decreases. After a bit of an internet search proved fruitless, I decided to just write my own.

I still had a ball of We Are Knitters yarn left over from my seed stitch scarves, so I decided to make a beanie that would match the scarf. This pattern doesn't use a whole ball - if you go buy yourself three balls and make the hat first, you can use the left overs to make your scarf a little longer.


Sunday, 17 July 2016

Seed stitch scarf set

Seed stitch is a beautiful way to add some texture to a garment, and it's great as a beginner's first pattern - all it uses is knit and purl stitches. I first made this chunky infinity scarf about three years ago, and it seemed like the perfect thing to make with a batch of yarn I got from We Are Knitters. Then I decided to make a regular version too. They ended up being lovely and soft and very, very warm.


If you'd like a matching beanie to go with your scarf, go check out the Slouchy Mushroom Beanie pattern.

Wednesday, 6 July 2016

Cutie Booties

Aren't these booties just the cutest little things? Our upstairs neighbours just had a baby so I made these as part of a care package that Wes and I gave them. I adapted the pattern from one that's worked flat - they're a little fiddly to work in the round but not having to sew them up at the end is a great feeling!


Thursday, 23 June 2016

Knitting stitch pattern: Honeycomb stitch


This hexagon stitch is a great first pattern for beginners who know how to knit and purl and want to start working with multiple colours. It's surprisingly easy to do but looks really impressive - a win-win situation if there ever was one!


Wednesday, 9 April 2014

Off With His Head!

Halloween's never been that big a thing in Australia. Unlike my American friends, I don't have any cherished memories of getting dressed up and going Trick or Treating. We had a Halloween party at work last year, though, so I figured it was better late than never and made myself a costume.

I originally wanted to go as Alice in Wonderland, but my friend Alice told me that she wanted to dress up, and it made more sense for her to be, well, Alice. We sat for a while and brainstormed costumes that I could make that would match her, and eventually we came up with the Queen of Hearts.


Saturday, 5 April 2014

Project 365: A wrap up - Around the world

Day 22
This is part three of my Project 365 wrap up. If you haven't yet, go take a look at Part 1 - Sydney and Part 2 - Day to Day.

I was very lucky last year to be able to travel a lot overseas to some places I'd been to before and some which were entirely new. Travelling really is a lot of fun, and it's always very eye-opening; I find that I learn a lot. I have a lot of people I love living overseas, so it's always fun to visit them too!

(A small tip: if you just want to see the photos, click one and you can scroll through them.)

Sunday, 30 March 2014

Project 365: A Wrap Up - Day to Day

Day 131

This is part two of my Project 365 wrap up. If you haven't yet, go take a look at Part 1 - Sydney.

While I spent a lot of time out and about during the year, I got up to a lot of stuff day to day. Random everyday things are the hardest thing to take photos of - you don't realise how similar your weekdays are to each other until you try and take a new photo every day. But I did manage to get some good shots over the year, so here goes!

(A small tip: if you just want to see the photos, click one and you can scroll through them.)

Saturday, 29 March 2014

Project 365: A Wrap Up - Sydney

Day 230
In September of 2011, I started up a Project 365, which involves taking one photo every day. For a little while it made up a significant portion of the content of this blog, but I missed quite a few days and eventually gave up on it 148 days in.

I was in San Francisco for work early last year and I decided I'd try it again. I was in a new place, I had plans to buy a shiny new camera, and I still wanted to actually complete one, so I figured why not? I finally finished it a couple of months ago and they actually make a decent chronicle of what I've been up to for the last year that I didn't really blog in. So here for your viewing pleasure are a few of my favourite photos and highlights from the last year.

(A small tip: if you just want to see the photos, click one and you can scroll through them.)

Sunday, 29 December 2013

Cushiony Goodness

Hello girls and boys, I'm back! It's been a long while since I made anything - life got in the way! - but I've started up again recently so I figured I'd share.

The recent flurry of making really started because I moved house. Two things happened - firstly, I finally managed to give my sewing machine its own little permanent corner of my room. I headed off to Ikea and bought a desk and a pretty chair, and the desk is just the right size to keep my machine and material stash in it.


Friday, 20 July 2012

Let There Be Light


When Steph and I moved in to our apartment two years ago, we despaired a bit at the huge expanses of white walls, and the fact that all our furniture was white and cream. We never really did manage to decorate much, and the apartment's nice but not really very homely. When Jade moved in a month or two ago she somehow managed to make her room this giant burst of colour, and one of the bits of it I envied the most was a lovely pretty lamp that she has. I'm a terrible copycat - when I see something I like, I'm pretty shameless and just copy it - so I've been on the hunt for a new lamp since she moved in.

Wednesday, 11 July 2012

Market Research: Finding Etsy


See Part 1: Fabric-a-brac Redux

After Fabric-a-Brac came two markets full of lovely handmade craft - Show 'n' Sell, and Finders Keepers.

Show 'n' Sell was a handmade market run by the Sydney Etsy Team that I went to with my lovely and crafty friend Helen. To be honest I can't remember how I heard it was on, but it was a little market run at World Bar. World Bar's in King's Cross, so it's not exactly the most obvious setting for a craft market, but they run an initiative called the Wall where they showcase different artists' work in the bar.