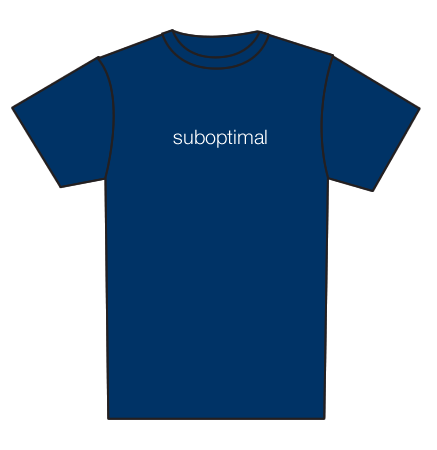
The company I work for is obsessed with t-shirts, to the point that one of our customers once joked that we were a t-shirt company masquerading as a software company. Most of the shirts we get made are fairly elaborate and designed in-house for special occasions, but one of our lovely designers decided to draw up unofficial plain text-based ones of memorable things people had said around the office. I really liked the designs, so for Christmas last year I asked her partner which ones they each liked the best, and took a crack at making them.
Luckily I found a couple of plain t-shirts at Giordano (although they didn't have a dark blue male one so I had to settle for green), then I wandered off to Lincraft to find t-shirt transfers. There were two types - for white and coloured backgrounds - so I grabbed a pack of the coloured ones.
I started out by printing out a couple of draft versions of the text to get the sizing right. It turned out that choosing the colour was also somewhat difficult - at first I thought a really light grey would be good, but when I tried it out it was too dark. Light cream ended up looking a bit closer to white so I just went with that.

|

|
| Experimenting with colour and positon |
When I bought the transfers, I had assumed that the coloured background type would be a clear sheet that you just printed your design on to and then could cut around roughly and iron on the shirts. To my horror, when I opened the packet the whole sheet was opaque white! I have no idea why they were for 'coloured backgrounds', but it left me with no choice but to cut out all the letters individually.
Oh. My. Goodness. In general I'm not a patient person but I usually get a bit pedantic with getting craft projects perfect. This was really pushing it though. I think all up for the two shirts I was cutting up letters for at least 2 or 3 hours - at least I can say I have excellent cutting skills now. The worst part was the letters like 'e' and 'b' that had bits that needed the middle cut out, and the one 's' I had to cut out was
terrible. Whenever I hit an 'l' or a capital 'i' I was over the moon.
I'm about the same size as Sam, and I'd bought myself a shirt along with the two presents I'd gotten, so I was able to position the text in the right place by trying on my shirt with the draft copies I'd made earlier. I just sort've guessed for the other one!
I had a bit of a mishap with the green one - I stuck some paper over the letters and ironed them like the instructions said, but I didn't read all the instructions properly and took the paper off too early (it has to cool down before you peel it off, oops!). Some of the letters came off, so I just grabbed the practice copies of the letters and used them as stencils directly against the t-shirt transfer. It meant that some letters were cream and some were actually white, but given that the shirt said 'Suboptimal', it sort've made sense! I'm glad I did it first though - if I had done the blue one first and lots of letters had been ruined I would've cried.

I'm actually really happy with how they turned out. The edges of the lettering aren't quite perfect and some of them came out a bit wonky but it made the t-shirts feel a bit more personal than if it'd just been printed out by a machine. Plus, while the letters were a huge pain to cut out, not having large expanses of clear t-shirt transfer stuck to the shirt was awesome. As a finishing touch I put our company's logo on the back of the shirts where it appears on our official shirts - it was much easier to cut out than the letters were!